Body
Overview
This guide will take faculty members through creating a new class type Team and adding students to it.
Creating a Team
- Install Teams, if you haven't already (installation guides are available if helpful)
- Launch Teams
- Navigate to the Teams view, represented by this icon:

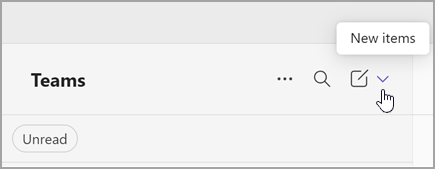
- Select the downward caret symbol for New Items:
- Select New Team

- Make sure From template is selected (on the left), and then select Class
- Select Use this template
- Enter a Team name (we recommend using class title and section), and optionally a description, then click Create
- There are two ways to add students:
- To add them one at a time, type each email address into the box here and click Add when you've got everyone
- To instead use a link you can mass email to your whole class at once, click the Skip button here, and then follow steps below
Using a Link to add students to your Team
Step 1 - Generate a Team link and email it to your students
- Select the More team options icon (...) next to the name of your team

- Select Copy link
- Email this link to your students with instruction to click Request to join after using the link
Step 2 - Approve student membership to the Team
As a security measure, you'll have to approve each student who attempts to join via the link you sent.
To accept requests to join your Team:
- Select the More team options icon (...) next to the name of your team
- Select Manage Team
- Select Pending requests in the row of tabs across the top
- Click Accept next to students you've verified are in your class
Need help?
Contact your local IT support for assistance using Teams.